Fail-safe Menu Testing Procedure
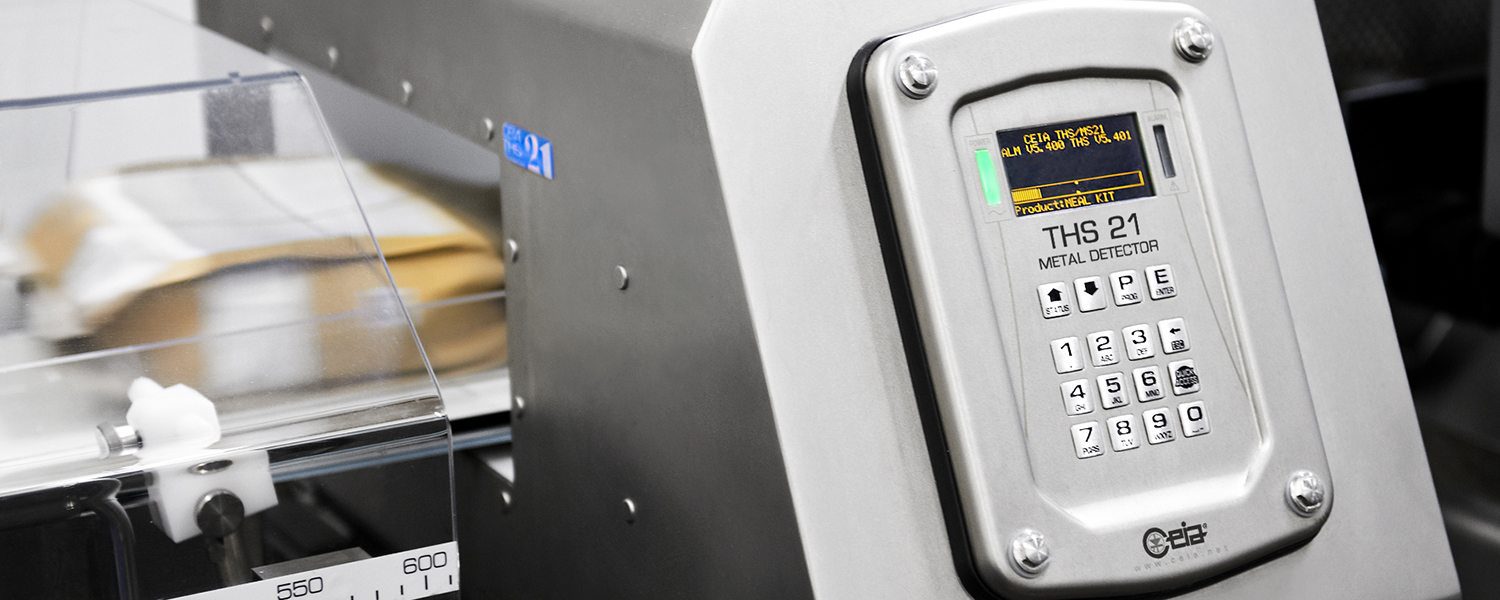
All of Ceia’s metal detection systems for the food industry come with a fail-safe menu as standard. The purpose of the menu is to lead the operator through the various necessary fail-safe tests in a simple step-by-step process.
The operator only has to follow the clear on-screen instructions and carry out the manual operations necessary for the test, with each step prompted by the system. The system will then advise whether each test has been passed or failed and the results of all the tests will be automatically recorded in the controller’s event log.
The result is that the operator is less likely to make mistakes when carrying out the checks. This is particularly helpful in an audit setting where the correct functioning of the detection systems must be demonstrated.
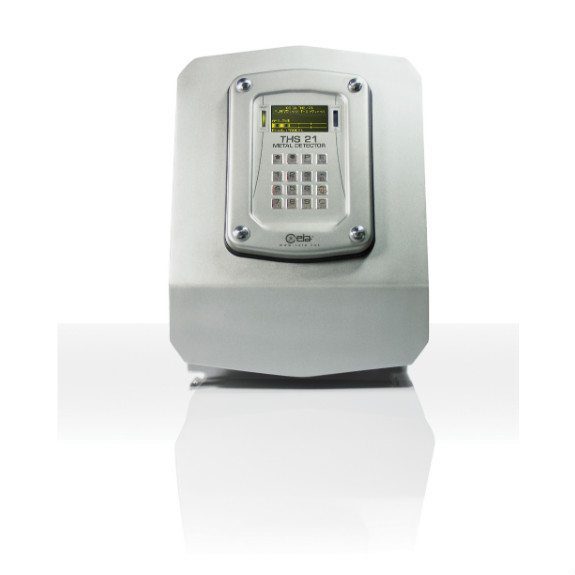
CEIA THS 21 Series Metal Detector

Testing Procedure
The fail-safe metal detector testing which must be carried out are determined by the relevant supermarket CoPs. When the system is being set up, it is possible to specify the tests which will be completed.
A brief overview of the testing procedure is detailed below, which assumes that all tests have been programmed during the initial setup:
- During the first testing phase (Ejection Confirmation) the metal detector will request that a contaminated package be passed through the system by the operator. Though the metal will be detected as normal, the ejector will not be activated. The procedure tests that the detector has entered fault status. The operator will then be prompted to confirm that the pack has stopped. The result of this test should then be recorded in the event log.
- For the next stage, the detector will request to activate the ‘Bin Full’ photocell. If the ‘Bin Full’ fault is activated (which is typically set to four seconds) within one minute, the test has been passed. The ‘Bin Absent / Open’ test sensor must then be checked. The detector will request to open the bin door to activate this sensor and the test will have been passed if the fault is activated, which is typically set to 20 seconds, within a minute. A similar process occurs when checking the ‘Low Pressure’ sensor, which simulates a situation in which there is insufficient air pressure to operate the ejection system, operating on the compressed air system. The alarm time for this test is typically set to two seconds.
- With the belt running, the detector will then request to manually activate the Synchronisation photocell; this should prompt a fault message, meaning the test has been passed. This process is then repeated to ensure the Ejection Check photocell is also functioning correctly.
- Test sample checks must then occur. Fe, Nfe and SS samples should be passed through the detector. Each time, the test can only be passed if the correct ejection occurs and all sensors involved are activated. The same process should then occur for a customer reference sample.
- The penultimate testing stage involves a head fault test, which is passed if a fault message is shown.
- For the final test, all relevant protections connected to the emergency circuit should be removed activated i.e. open a hatch with a safety interlock fitted. The relevant diagnosis should then be activated.
Further Information
If you have any questions about the fail-safe menu testing procedure or would like to find out more about Ceia’s industry leading metal detection systems, please do not hesitate to get in touch with the team at MDS. You can either use our contact form or call us on 0161 286 8755.
Registered Company No.05894215 Registered in England and Wales – VAT Reg No: 887097758

